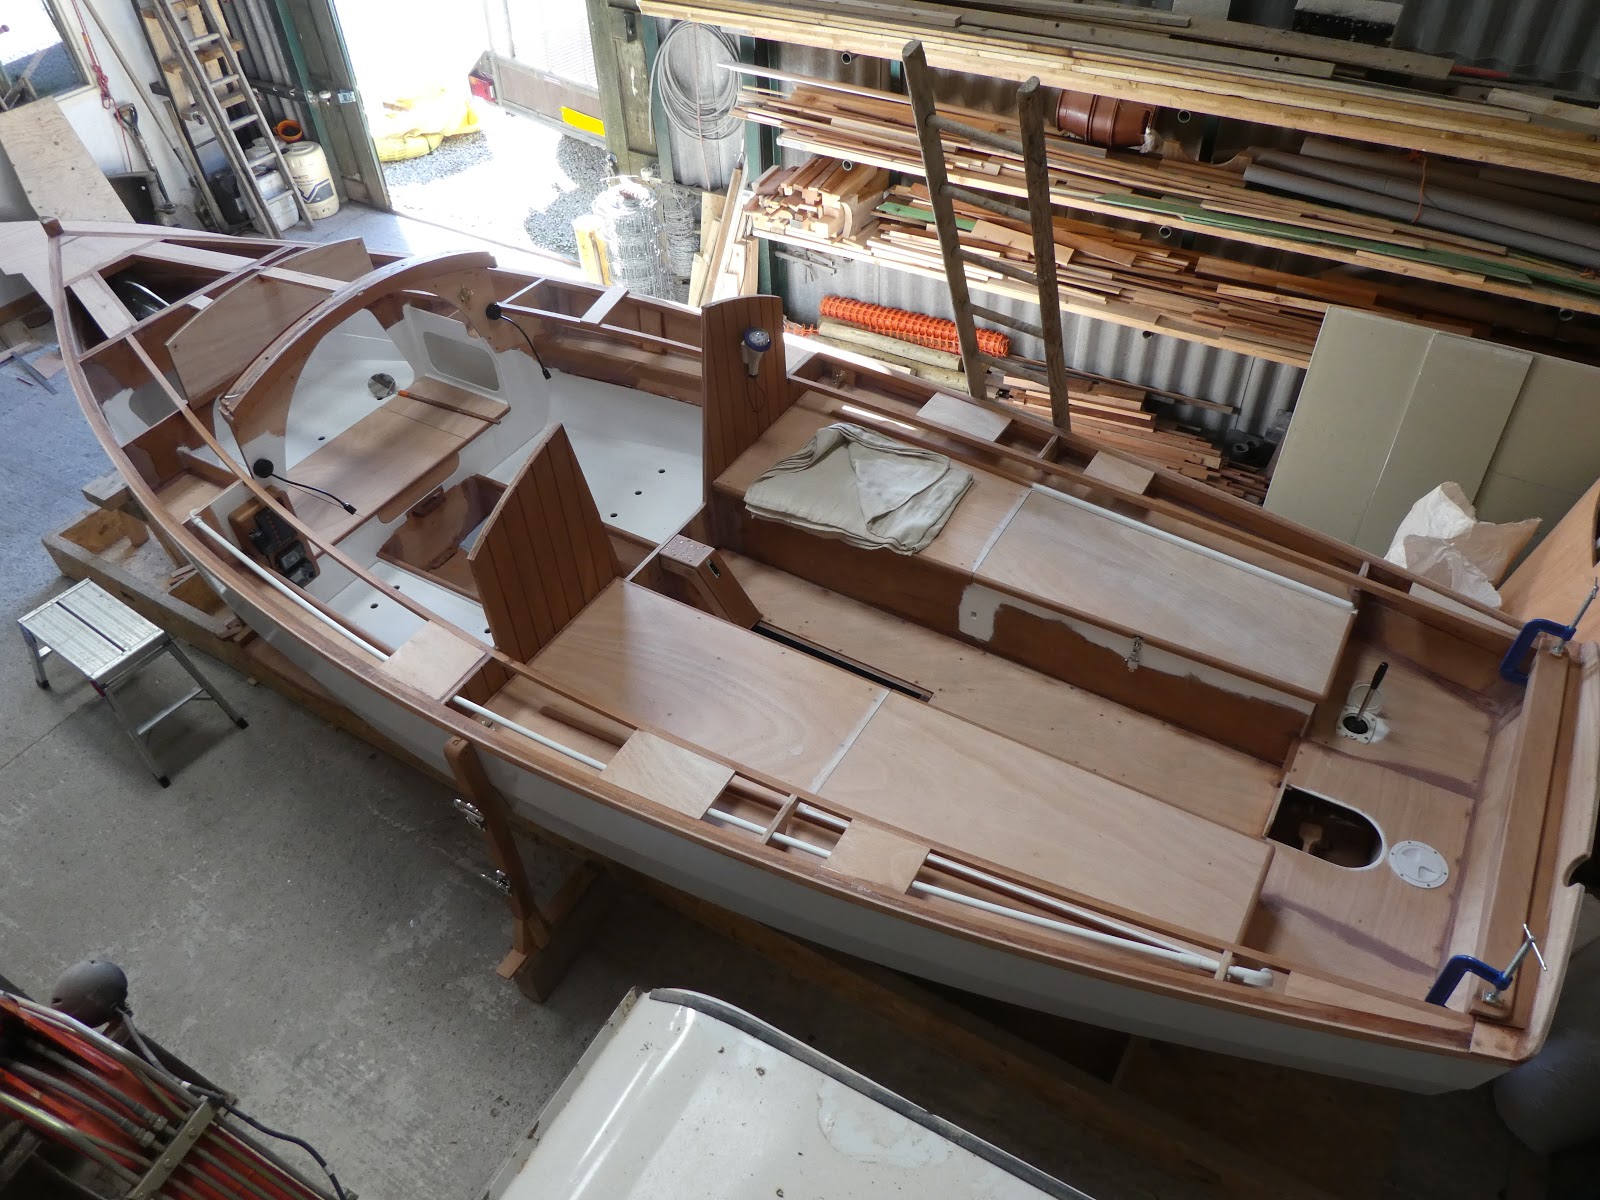
Carlin’s, beams and reinforcing doublers all fitted and glued into place. The doublers are mainly 20mm thick laminated from two 10mm pieces of plywood. This reinforcement has been added to allow fittings to be bolted through, cleats, sheet leads, chain plates etc. There are also doublers beneath the butt joints of the deck.
I
also prepared and dry fitted the whole deck plus the trim on the transom. I
marked around the timbers below the plywood deck sections before removal, this
allowed positioning of masking tape over the fixing areas to prevent
contamination whilst painting the boards before fixing. I took the opportunity of shaping the trim at
the aft of the cockpit and inserted a central inlaid feature, deliberately cut
from a different board of sapele to obtain a contrasting colour and grain
structure, I further highlighted this with an inlay of ash around its perimeter
to achieve further enhancement.
I
have decided to finish the deck in teak planking set in epoxy with black Sikaflex
joints. To assist in the design of the layout, I set out the planks in chalk to
one half of the boat, this proved very useful to calculate the amount of
planking required and was an easy way to alter the design by simply rubbing off
the chalk with a damp sponge, I was then able to develop the set out until arriving
at the most appealing design.


Deck planking marked out in chalk
I
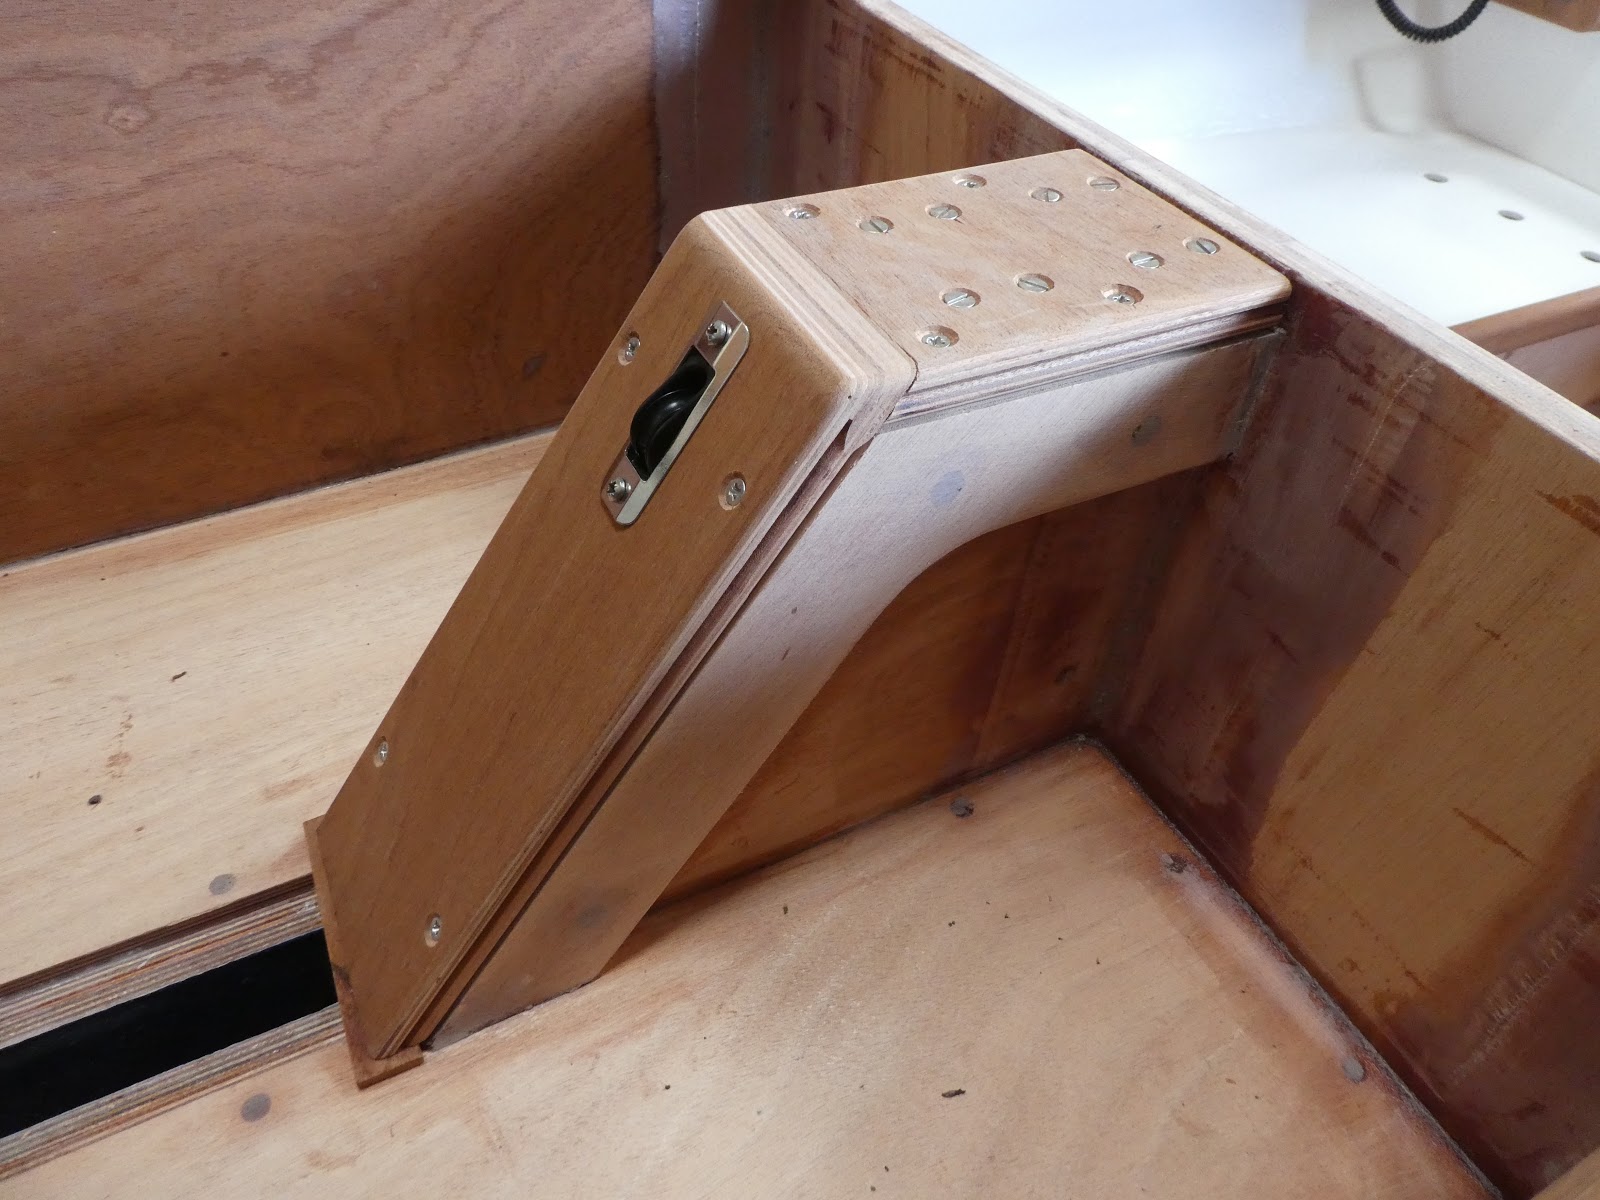
decided to reinforce either side of the centre board case creating a broad edge
for a more secure fixing for the capping’s. I laminated up two 10mm pieces of
plywood then cut them to the shape shown in the photograph before gluing to the
case. The capping’s I made from laminating two 10mm pieces of hard sepele faced
plywood, then machined a bead in the edge to aesthetically improve junction
with the case.
To
accommodate an anchor of sufficient holding capability that would fit into the
restricted space of the mooring and stowage well, proved to be an item of
extensive research. I looked at every anchor design on the market and found
that most would simply not fit, until I came across the Plastimo Kobra folding
anchor. Research of this product revealed it to be an ideal solution, the
folding capability allowed easy stowage with room to spare. Because of this I
was able to raise the forward base of the well by around 50mm to allow better
drainage towards the oblique to aft drilled holes through the hull planking,
this also gave more room below. I sourced some small stainless steel shell
vents to provide cover to the exposed holes on the outer face of the hull which
looked very neat. The bottom of the well was filleted around its perimeter, sheathed
in 300 gsm woven glass fabric saturated in epoxy, filled and faired to a smooth
finish. Its planned to fit a protective rubber mat to the bottom minimise
potential damage from the anchor and chain.

The Plastimo Kobra
folding anchor neatly stowed in the well. The additional 20mm thick plywood
reinforcing seen here beneath the deck, will provide solidity for bolted
through fixings for mooring cleats, stemhead chain guide, bowsprit iron and
lashing eye plates. You can also see the anchor cable fastening eye bolt.

The stainless
steel shell vents can be seen covering the anchor and mooring stowage well
drainage holes
No comments:
Post a Comment