I
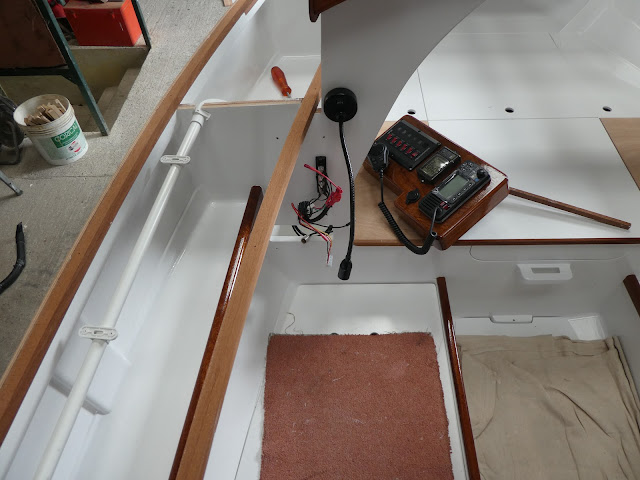
have used Hempel paints throughout the whole build. The coating regime for the
internal painting began by applying Wood Impreg as a sealant, three coats of Primer
Undercoat then three coats of Brilliant Gloss for visually exposed surfaces or three
coats of Bilge and Locker paint where appropriate. I rubbed down de-dusted and
cleaned between each coat. Sapele trims and other exposed hardwood items were sealed,
again using Wood Impreg, before finishing with multiple coats of clear varnish.
All the paint and varnish was applied with a range of specialist brush’s and
roller, before laying off with a brush to finish.
The
plywood deck panels were glued with epoxy and screwed down with countersunk
stainless steel screws; any excess epoxy squeezed out below was removed and
cleaned down with disposable paper towels. These areas will then only require a
light rub down and the paint touching up. The screw heads were filled with
epoxy filler. When set, the whole deck was rubbed down by an orbital sander to
remove any irregularities whilst paying particular attention at the joints. The
overhanging waste was trimmed back flush with the planking then a small pencil
round radius was routed onto the corner. The whole deck was then sheathed in
300 gsm woven cloth and lapped over the edge onto the planking by approximately
30 - 40 mm. The small radius cut onto the top edge allowed the cloth to be
dressed tightly over without any air pockets forming.
The areas to
be glued were masked off before painting the underside of the deck boards.
The wiring has
been installed whilst most areas are still relatively reasonably accessible.
All cables and fittings are to specialist marine standards. The fixing brackets
were fitted to the wiring conduit before the deck boards were fixed down, these
will be stuck to the underside of the deck with self-adhesive double sided
pads.


No comments:
Post a Comment